 Add Row
  Add
Add 

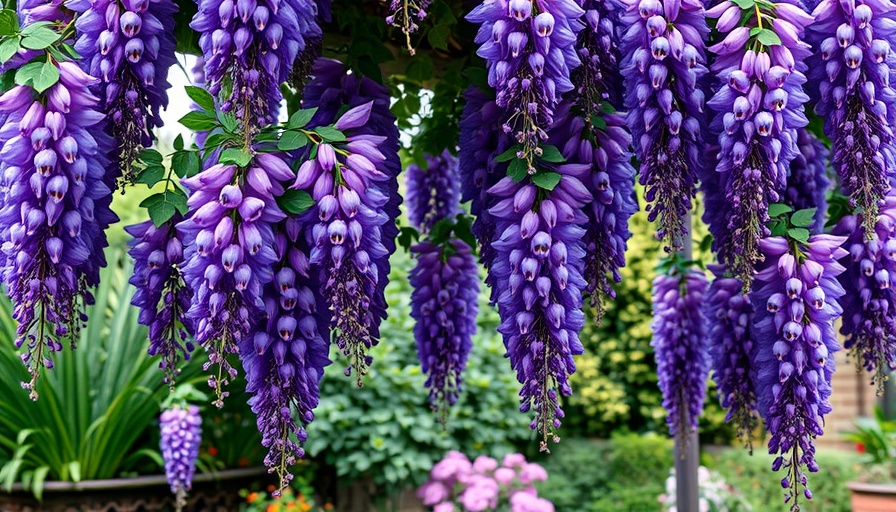
Transform Your Outdoor Space with Fast-Growing Vines
Homeowners often seek simple yet impactful ways to enhance their outdoor living spaces. Fast-growing vines not only provide beauty and texture but also serve practical purposes like privacy and shade. This guide explores some of the best options for adding climbing plants to your yard, ensuring a lush, vibrant result in no time.
Why Choose Fast-Growing Vines?
Vines are incredibly versatile. They can cover unsightly structures, create beautiful natural screens, and offer color and fragrance to backyards. These rapid climbers can help transform barren spaces into lush retreats swiftly. In fact, using vines strategically can change the entire ambiance of your outdoor areas.
Top Fast-Growing Vines for Your Garden
Here are several excellent options to consider:
1. Trumpet Vine
Known for its vibrant orange trumpet-like flowers, the trumpet vine is a favorite among gardeners. This resilient plant attracts hummingbirds and thrives in full sun, growing up to 40 feet tall and spreading 10 feet wide. Although it can be a bit aggressive, regular pruning can keep its growth in check.
2. Virgin’s Bower
This charming vine produces clusters of delicate white flowers from late summer, delighting your garden while inviting pollinators. Reaching heights between 10 and 20 feet, Virgin’s Bower thrives in both sun and partial shade, making it suitable for various garden designs.
3. New Dawn Rose
With its soft, pale pink flowers blooming continuously during the season, this climbing rose is effortless to train. Ideal for trellises and fences, it flourishes in well-drained soil and needs proper care, including regular watering and fertilizing, to achieve optimal performance.
Care Tips for Your Vines
Giving your vines the right care maximizes their potential. Here are some key tips for maintaining healthy growth:
- Watering: Regular watering is crucial, especially for young plants. Depending on the species, you might need to provide up to an inch of water per week.
- Pruning: Regularly prune your vines to control their spread and encourage healthy blooms. Some vines, like the trumpet vine, need more aggressive pruning.
- Sunlight: Most climbing plants thrive in full sun, so choose a location that receives adequate sunlight throughout the day.
- Support Structures: Ensure your vines have proper support, whether from fences, trellises, or pergolas, to uplift their growth.
Creating Your Dream Garden
Incorporating fast-growing vines into your landscape design not only enhances its visual appeal but can also promote a more intimate and inviting atmosphere. Whether you’re looking to obscure views, create a vertical garden, or simply add color, these climbing plants can meet your needs creatively.
Local Tips and Resources for Gardening
Before planting, consider research on local hardiness zones to select the best vines for your specific climate. Local gardening centers often provide valuable insights and plants well-suited for your area. Many communities also host gardening workshops that can connect you with fellow enthusiasts and experts.
Your Path to a Vibrant Outdoor Space
Now that you know about some fast-growing vines, it’s time to envision your garden's transformation. Whether you choose a classic rose or an eye-catching trumpet vine, each has the potential to elevate your outdoor experience significantly. Take action today to create that lush garden oasis you've always wanted!


Write A Comment