 Add Row
  Add
Add 


Understanding Vinyl Plank Flooring: A Reliable Choice for Homeowners
Vinyl plank flooring has emerged as a popular choice among homeowners for its durability and aesthetic appeal. Unlike traditional hardwood, vinyl planks are resistant to moisture, scratches, and staining, making them ideal for high-traffic areas. However, even the sturdiest flooring can encounter damage over time due to heavy furniture, pet claws, or everyday wear and tear. Knowing how to properly repair your flooring can save you time and money in the long run.
Identifying Damage: The First Step in Repairing Vinyl Plank Flooring
Before you can fix your vinyl planks, it's essential to identify the type of damage. Is it a scratch that only affects the surface, a gouge that penetrates deeper, or a completely detached plank? For minor scratches, a simple polish may suffice, but if you’re looking at more significant issues, you could need to replace the planks. Recognizing when to rely on repairs versus when to consider replacements is crucial in preserving the integrity of your floor.
Repair Methods for Different Flooring Qualities
As mentioned in the step-by-step guide, two primary methods exist: removing and replacing planks or modifying the existing structure. For those with high-quality, name-brand vinyl flooring, the first method is often recommended. This involves unclicking the damaged plank and installing a replacement without compromising the overall floor structure. It can typically be done in a small room in under 30 minutes, making it an appealing DIY project. However, for lower-quality vinyl, the second method of cutting and gluing a replacement plank may involve significant downsides, such as increased susceptibility to moisture damage.
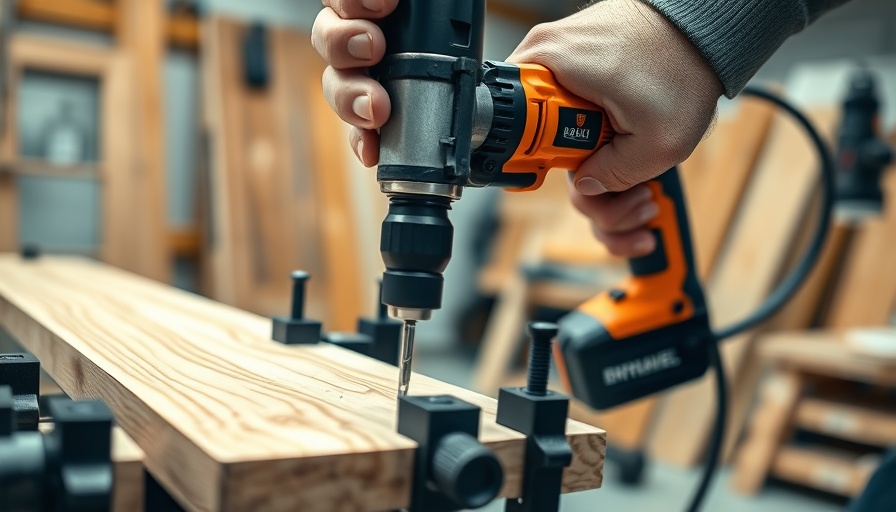
Tools and Techniques: Essential Gear for Your DIY Project
Gathering the right tools is key to ensuring a smooth repair project. As you embark on this DIY journey, you’ll need items like a utility knife, pry bar, circular saw, and super glue. Beyond just tools, a clear workspace and a well-planned approach can significantly minimize the time and effort involved in repairs. As always, safety should be your priority; wearing protective gear can prevent injuries during this home improvement project.
Preventative Measures: Keeping Your Vinyl Flooring in Great Condition
After completing the repairs, it’s imperative to take steps towards protecting your flooring. Regular cleaning and maintenance not only enhance its longevity but also maintain its appearance. Investing in felt pads for furniture legs can reduce scratching, while a solid mat at entrances can trap dirt before it damages your planks. By adopting mindful practices, you can preserve your flooring and avoid future repairs.
Considering Professional Help for Complex Repairs
While many homeowners take pride in completing DIY repairs, there are situations where professional intervention may be warranted. If you're dealing with extensive damage or multiple planks across large areas, consulting a floor repair specialist can save you from potential headaches. A trained professional brings the necessary expertise to ensure that your flooring maintains its beauty and functionality over time.
Conclusion: Empower Your Renovation Skills
Repairing your vinyl plank flooring can be a rewarding experience, empowering you to improve your home on your own terms. From identifying damage to making the right repairs, each step involves learning and discovery. Don't shy away from getting your hands dirty—embrace the DIY spirit! Remember, whether it’s a small scratch or a plank replacement, the right mindset and preparation are keys to successfully reviving your flooring.
For more engaging renovation tips and expert advice, subscribe to our newsletter to transform your home projects into beautiful realities!


 Add Row
  Add
Add 
Write A Comment