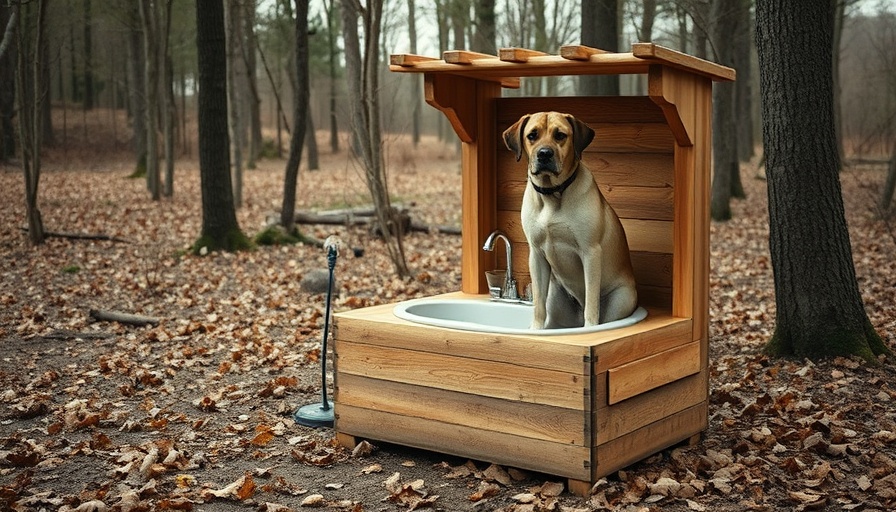
Transform Your Home with a DIY Dog Wash Station
If you're a dog owner, you know how quickly your furry friend can turn from clean to messy, especially after an adventurous day outside. Creating a DIY dog wash station at home is not only practical but also a rewarding project that enhances your living space. Imagine the ease of rinsing off muddy paws and giving your pet a refreshing bath right in your backyard or utility room. Here’s a comprehensive guide to building your own dog wash station, along with tips and ideas to make the process enjoyable!
Why Build a Dog Wash Station?
Bathing your dog regularly is crucial for their hygiene and health. A designated wash station keeps the mess contained and makes bath time a breeze. With debris and dirt being an inevitable part of a dog's life, having a dedicated space saves you time and helps maintain the cleanliness of your home.
Gather Your Supplies for Success
Before beginning your project, ensure you have all the necessary tools and materials. Here’s a quick checklist:
- Acrylic or fiberglass shower pan (60” x 36”)
- Wood pieces (2” x 4”)
- Plywood sheet (1 ¾ inch, 4” x 8”)
- Tiles, grout, and thinset mortar
- Shower drain assembly and P-trap
- Handheld shower head assembly and other basic tools (saws, drill, screws, etc.)
Step-by-Step Guide to Building Your Dog Wash Station
1. Cut the Wood
Start by cutting your 2” x 4” wood into 16 equal pieces for constructing the frame, along with a plywood piece measuring 60 inches by 36 inches to serve as the top.
2. Build the Walls
Create the back and side walls using the 36-inch and 60-inch wooden pieces. Ensure each wall is sturdy, maintaining your dog’s safety during bath time.
3. Assemble the Structure
After constructing the walls, connect them with structural rings, securing each section with nails. This gives your wash station the necessary support and durability.
4. Install the Shower Pan
Position the acrylic shower pan on top of the frame. Use a construction adhesive to secure it, allowing it to dry thoroughly before moving on.
5. Finishing Touches with Cement Board and Tiles
Add cement board to the sides and back walls before tiling. When applying your tiles, make sure to use a notched trowel for even adhesive distribution. This creates an easy-to-clean surface and a stylish appearance.
6. Drain Installation
Finally, install the drain assembly properly, cutting necessary holes into both the plywood and shower pan for effective water drainage.
Enhancing Your Dog Wash Station Experience
Beyond the basic setup, you can personalize your dog wash area. Adding hooks for towels, storage for grooming supplies, or even a small bench can make the experience more comfortable for both you and your pet. Consider providing a non-slip mat to ensure your pup's safety while bathing.
Embrace the Clean, Keep Your Home Happy
A DIY dog wash station not only simplifies the bath process but also fosters a closer bond between you and your pet. It’s a testament to your love and care, turning an ordinary chore into a delightful experience. Moreover, it keeps your home free from the mess that comes with dog ownership!
Conclusion and Next Steps
Creating a dog wash station is a fulfilling project that pays off in convenience and cleanliness. Now that you have the tools, tips, and a step-by-step guide, it’s time to roll up your sleeves and get started. Embrace the joy of caring for your furry companion while keeping your living space neat.
For more DIY home improvement tips and to learn about sustainable living practices that integrate easily into your lifestyle, check out our resources!
 Add Row
  Add
Add 


 Add Row
  Add
Add 

Write A Comment