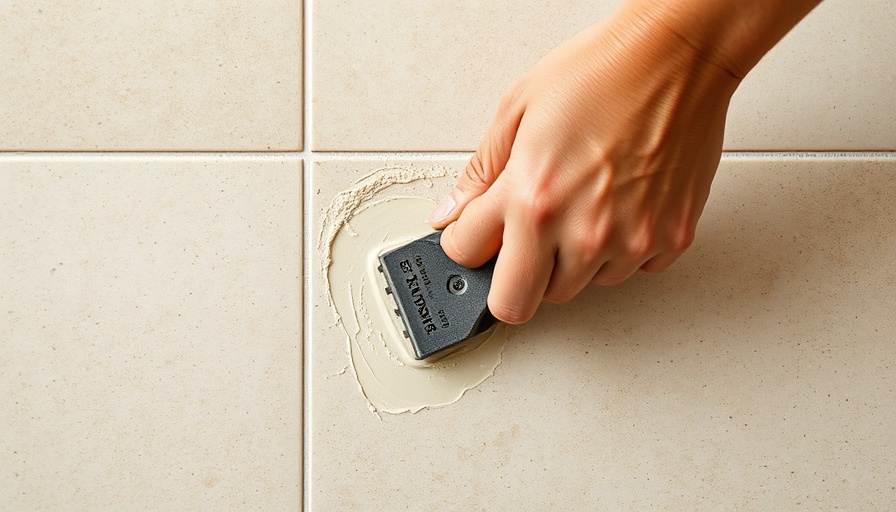
Reviving Your Tiles: Why Grout Removal is Essential
If your grout appears grimy or discolored, the appeal of your tiles is not just diminished; it can impact the entire feel of your space. Removing old grout is often the first step in a bathroom or kitchen renovation, ensuring that the new grout adheres properly and secures beautiful, clean lines. Not only does removing damaged or moldy grout improve the aesthetics, but it also helps maintain the longevity of the tiles beneath.
Choosing the Right Tools for Grout Removal
Equipped with the right tools, you'll find that grout removal is much easier than you might think. Common tools include an oscillating tool with a grout removal blade, a utility knife, and manual grout removal tools. For a more DIY approach, consider items feasible within your household, such as sugar and water for a gentler method. A good pair of safety goggles is essential to keep your eyes protected while you remove the stubborn old material.
Popular Techniques to Remove Grout Effectively
1. Using an Oscillating Tool
The most effective way to remove grout over a large area involves utilizing an oscillating tool. This power tool allows you to remove grout quickly and efficiently, significantly lessening the workload. Simply replace the existing blade with a grout removal blade. Gently press the tool into the grout without forcing it, allowing the tool’s power to do the work for you. Remember, patience is key to avoiding any potential damage to your tiles.
2. DIY Sugar Solution
If purchasing a tool is beyond your current budget, why not try a sugar solution? Just mix a gallon of water with a cup of sugar, apply it to the grout, and let it sit overnight. The sugar acts as an abrasive, making it easier to scrape away the softened grout by the next day. This eco-friendly method is both effective and budget-friendly.
3. Vinegar for Stubborn Grout
Vinegar is well-known for its myriad of uses around the home, and it excels at breaking down tough grout. Combine equal parts of water and vinegar, clean your surface thoroughly, and apply the solution. After allowing it to sit, it will create a fizzing effect that helps dissolve hard grout residue.
4. Manual Removal Techniques
For smaller areas or if you prefer a manual approach, traditional grout removal tools can be used. This method involves using a carbide tip grout removal tool or grout saw for precision. Be sure to keep a vacuum handy to clean as you go; this will minimize the mess and allow you to see your progress more clearly.
Safety First: Protecting Your Workspace
While undertaking the grout removal process, prioritize safety. Always wear protective eyewear to shield yourself from flying debris. Additionally, consider placing painter's tape around your tiles to avoid scratching as you work. If you opt for the oscillating tool, be cautious as you work around the edges—keeping the blade parallel to the tile surface will help protect it from chips.
What to Do After Grout Removal?
Once you've effectively removed all necessary grout, it’s crucial to clean the area thoroughly. Use a damp sponge to wipe down any remaining dust or debris before applying your new grout. This ensures proper adhesion for your new tile application and maintains the beauty of your renovation for years to come.
Conclusion: Embrace Your DIY Spirit
Grout removal may seem daunting at first, but with the right techniques and tools, it can rejuvenate your tiled surfaces and transform the feel of your home. Embrace your DIY spirit, and take the opportunity to improve your living space without breaking the bank. Don’t hesitate to tackle this project yourself—your home deserves it!
 Add Row
  Add
Add 


Write A Comment